How to Change the Upload Directory in WordPress
The upload directory stores files uploaded to the Media Library.
Background
Each time we upload a file to the Media Library, WordPress creates a new attachment and stores the file in the upload directory. By default, this directory is at wp-content/uploads.
For diverse reasons, website owners may require to move the upload directory to a different location.
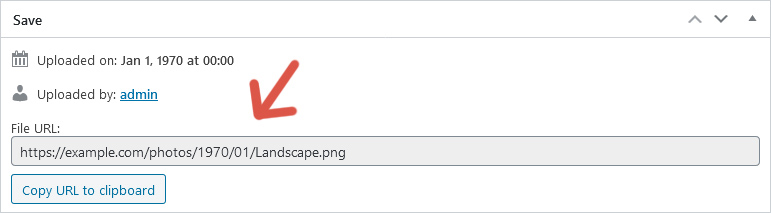
Example: if a website is about photography, a good choice is to store media files in a photos directory, so URLs look like https://example.com/photos/photo-1.jpg.
Notice
This tutorial is about changing the upload directory to a directory within the WordPress directory. If you need to move uploads to a directory outside the WordPress directory, like a subdomain directory, check this tutorial.
Important: Back up your website before applying the procedure, so you can revert changes easily if something goes wrong.
Steps
Follow these steps to change the upload directory in WordPress.
Step 1: Open the WordPress directory using FTP or cPanel. This directory is the one containing the folders wp-admin and wp-includes.
Step 2: Edit the file wp-config.php and before /* That's all, stop editing! Happy blogging. */ add your code according to the examples below. Change the folder name as desired and keep in mind that paths are relative to the WordPress directory.
// Set the upload dir to 'wp-content/photos'
define('UPLOADS', 'wp-content/photos');

// Set the upload dir to 'photos'
define('UPLOADS', 'photos');
Step 3: If your website was already storing media files, move the content of the previous upload directory to the new upload directory.
Step 4: Upload a sample file and check that it is stored in the new location.
Step 5: Navigate through your website and verify that images are displayed correctly, files are downloaded correctly, etc.
Issues
If you get an error while uploading a file, log into cPanel and verify that the new upload directory is writable. The recommended permission is 755.
If you discover that some URLs are still pointing to the old upload directory, use a search and replace operation to update these obsolete URLs in your content.
You may also need to add a rule to the .htaccess file, so URLs previously indexed by search engines are redirected to the new location.
# Rule required if the upload dir is changed from 'wp-content/uploads' to 'photos'
RedirectMatch 301 ^/wp-content/uploads/(.*)$ https://example.com/photos/$1
Further reading
I recommend the other tutorials in this series to learn more about managing attachments in WordPress.
- Big Image Handling in WordPress
- How to Restrict the Maximum Upload Size in WordPress
- How to Increase the Maximum Upload Size in WordPress
- How to Change the Upload Directory in WordPress
- How to Move the Upload Directory to a Subdomain in WordPress
- How to Force File Download in WordPress
- How to Disable Attachment Pages in WordPress
- How to Customize the URL of Attachments in WordPress
Source code
The source code developed in this tutorial is available here.
Comments