How to Install and Activate a Plugin in WordPress
Plugins are a key part in the architecture of WordPress.
Plugins
Plugins extend the core functionality of WordPress. They are written in PHP. Optionally, plugins can include CSS and JavaScript code, and media files like images, videos, etc.
Installing a plugin means placing its files in a specific location inside the WordPress directory, normally in the wp-content/plugins folder. After installation, you must activate the plugin for it to start working.
Automatic installation
This is the easiest way to install a plugin in WordPress, but it is limited to plugins hosted in the WordPress Plugin Directory.
Step 1: Navigate to Plugins > Add New and type in the search box the name of the plugin or functionality you are looking for. A list of all matching plugins will appear.

Step 2: Click the Install Now button in the desired plugin. After a few seconds, the Install Now button will change into the Activate button.
Step 3: Click the Activate button.
Installation via WordPress upload
This is the best way to install plugins hosted outside the WordPress Plugin Directory.
Step 1: Navigate to Plugins > Add New and click Upload Plugin.

Step 2: Click Browse and select the plugin ZIP file from your device.

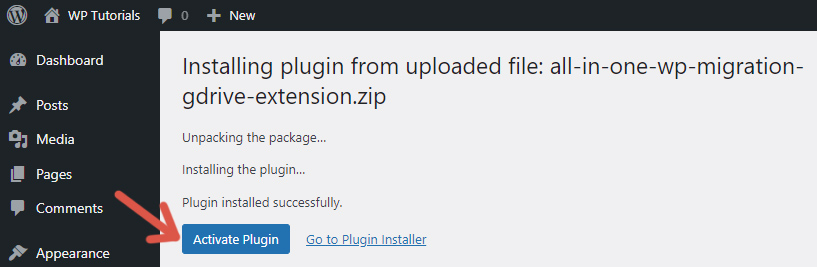
Step 3: Click Install Now and wait a few seconds.
Step 4: Once the installation is complete, click Activate Plugin.
Installation via FTP upload
In rare cases, the hosting provider sets restrictions that prevent plugins from being installed via the WP Admin. The solution in these cases is to upload the plugin using FTP or cPanel.
Step 1: Use FTP or cPanel to upload the plugin ZIP file to the plugins directory. This directory is normally at wp-content/plugins inside the WordPress directory.
Step 2: Decompress the ZIP file and delete it.
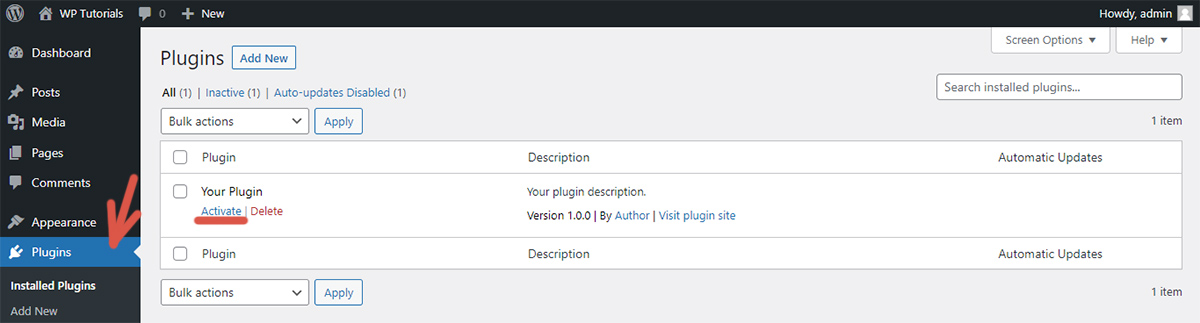
Step 3: Navigate to Plugins, look for the plugin just uploaded, and click Activate.
Configuration
Once activated, most plugins add a top-level menu to the WP Admin bar or a submenu to the Settings menu. Review the plugin settings and adjust the default configuration according to your needs.
Further reading
I recommend the other tutorials in this series to learn more about managing plugins in WordPress.


Comments