How to Roll Back a Plugin in WordPress
The best practice is to keep plugins updated, but plugin rollbacks are often required in extreme cases.
Problem
You updated a plugin to the newest version, but it causes issues on your website. You need to revert the plugin immediately to the previous version.
Solution
Follow this procedure to roll back a plugin in WordPress. In strict words, you can use it to replace the installed version of a plugin with any other version, newer or older than the current one.
Step 1: Install and activate the plugin WP Rollback.
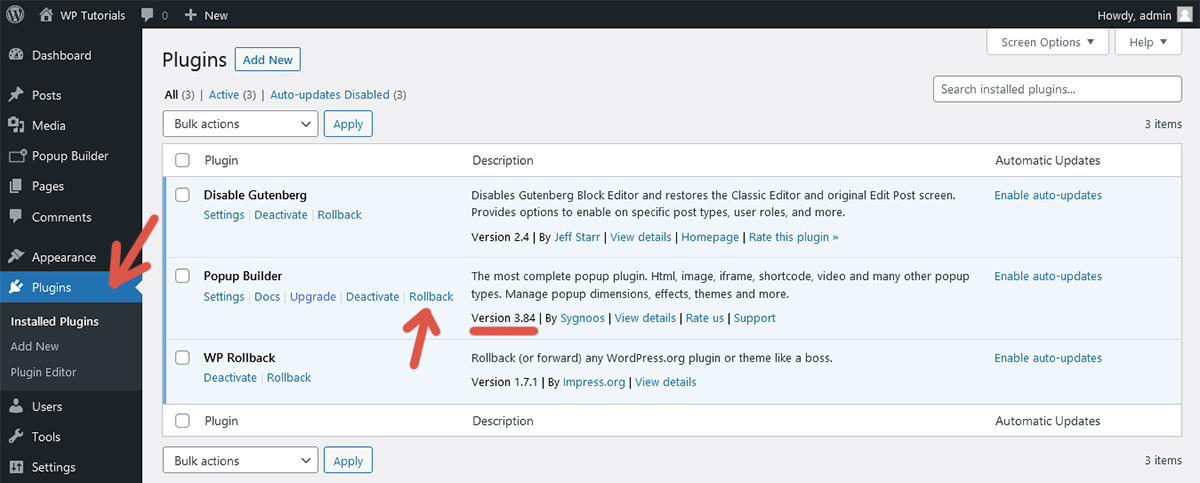
Step 2: Navigate to Plugins.
Step 3: Click Rollback on the target plugin.
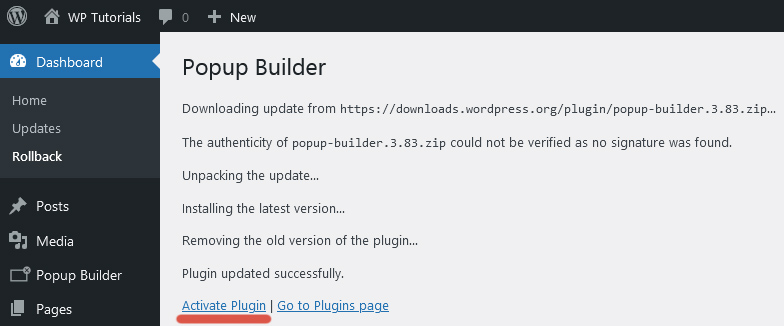
Step 4: Choose the desired version and click Rollback. A confirmation window appears. Click Rollback.

Step 5: Click Activate Plugin.
Step 6: Go to Plugins and verify that the chosen plugin version is now installed.
Limitation
WP Rollback only works with plugins stored in the WordPress Plugin Directory. It is unable to handle plugins stored in other repositories, like paid plugins. In these cases, the Rollback action link is not shown.
Tip
Each update fixes known vulnerabilities and adds new features. Do not roll back a plugin as a permanent solution. Do it as a temporary solution to give you some time to fix the issues caused by the new version.
Further reading
I recommend the other tutorials in this series to learn more about managing plugins in WordPress.

Comments